|
H-Sphere integrates MS Exchange Server hosting that enables you to send
and receive electronic mail and other forms of interactive communication through computer networks.
The centralized e-mail servers connect to the Internet and private networks where e-mail
messages are sent to and received from other e-mail users. Exchange Server offers you
integrated collaborative messaging features such as scheduling, contact, and task management capabilities.
When you are signed up for an MS Exchange plan, you can do the following in your user control panel:
Managing mailboxes
Mailbox is an area in memory or on a storage device where e-mail is placed.
In e-mail systems, each user has a private mailbox. When the user receives e-mail,
the mail system automatically puts it in the mailbox.
Managing an existing mailbox
- Go to MS Exchange->Mailboxes menu of your Control Panel
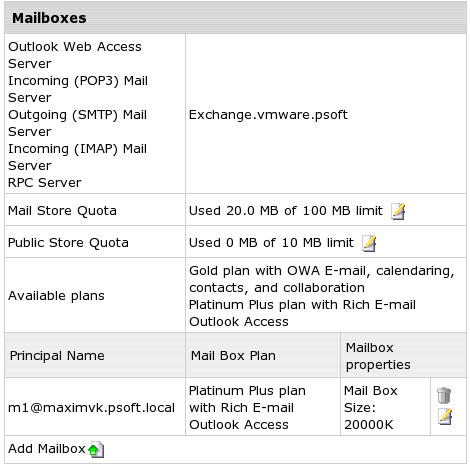
- On the form that appears, you can:
- View general information on your mailboxes
- Increase Mail Store Quota and Public Store Quota
by clicking on the edit icon and agreeing to charges, if any.
- Add a mailbox
- Edit an existing Mailbox
- Remove an existing Mailbox by clicking the Trash icon next to the Mailbox you need.
Adding a mailbox
- Go to MS Exchange->Mailboxes menu of your Control Panel
- Click the Add mailbox icon
- Fill in the form you will be taken to:
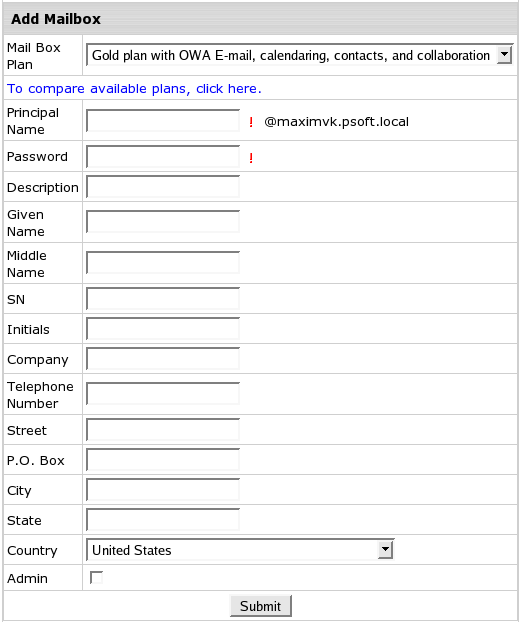
Here:
- Mail Box Plan - you can choose the plan that suits you best
- Principal name - your mailbox name
- Password - is a mailbox password which corresponds with win server password restrictions
Editing an existing mailbox
- Go to MS Exchange->Mailboxes menu of your Control Panel
- Click the Edit icon next to the mailbox you want to edit
- Make necessary changes in the form you will be taken to:
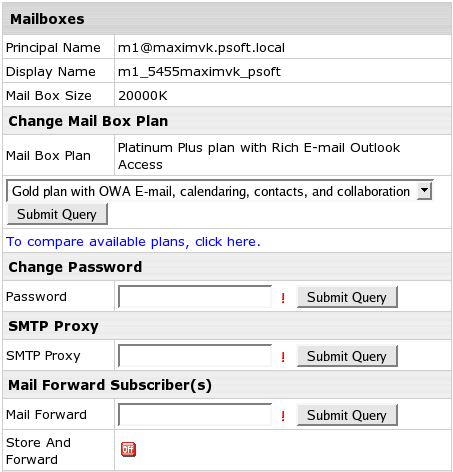
- SMTP Proxy - allows to create an alias (second email address)
- Mail Forward - indicate the e-mail address for your mail forwarding.
- Store and Forward - enable if you want your mail to be saved and posted
to Mail Forward email simultaneously
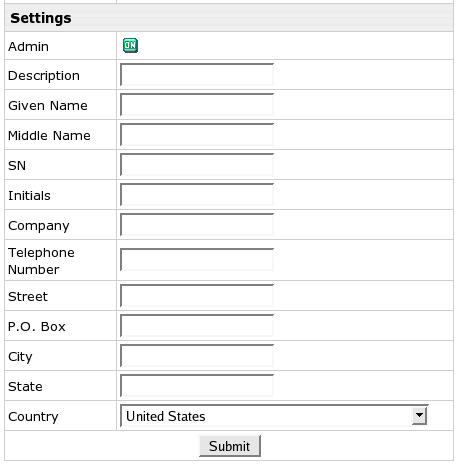
- Admin - enable if you want to grant Admin priveleges to this mailbox
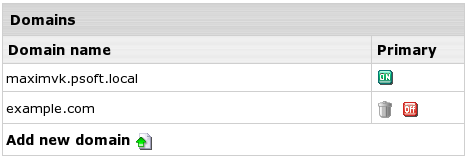
Managing SMTP domains
MS Exchange allows you to set up Internet SMTP domains, that you may want to accept messages for.
- To add new SMTP domain:
- Go to MS Exchange->SMTP Domains menu of your Control Panel
- Click the Add new domain icon
- Fill in the form you will be taken to:

- To remove SMTP domain:
- Go to MS Exchange->SMTP domains menu of your Control Panel
- Click the Trash icon next to the domain you need
Note:You cannot remove SMTP domain with a mailbox already created on it.
- To set an existing SMTP domain as Primary:
- Go to MS Exchange->SMTP domains menu of your Control Panel
- In the column Primary, click the button to enable/disable next to the desired domain
Adding MX DNS Records
You can add MX records to the specific SMTP domain.
- Go to MS Exchange->DNS menu of your Control Panel
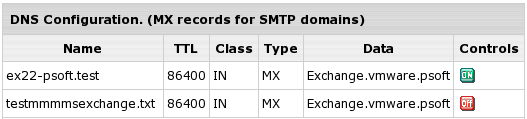
- Click to enable necessary domain. Once it's enabled, DNS record is created.
Note: Enable an MX record only if the domain is created in this account
and is used for MS Exchange hosting. Do not enable an MX record if the domain is
registered with another hosting account. In this case, add the corresponding MX
record into the DNS configuration of this other hosting account.
Managing Distribution lists
A Distribution list is a list of e-mail addresses identified by a single name, such as
list_name@domain.com. When an e-mail message is sent to the distribution list name,
it is automatically forwarded to all the addresses in the list.
MS Exchange allows you to manage centralized mailing lists for groups of users.
- To add a Distribution list:
- Go to MS Exchange->Distribution list menu of your Control Panel
- Click the Add Distribution List icon
- Fill in the form you will be taken to:
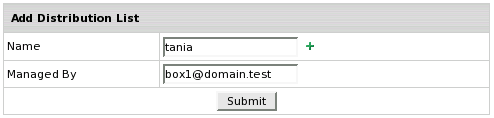
Managed by means Mailbox Principal Name
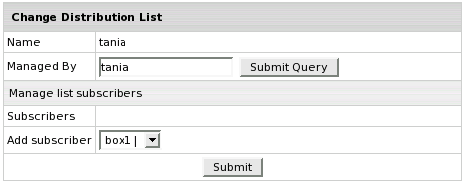
- To edit an existing Distribution list:
- Go to MS Exchange->Distribution lists menu of your Control Panel
- Click the Edit icon next to the list you want to edit
- Make necessary changes to the form you will be taken to:
- To remove a Distribution list:
- Go to MS Exchange->Distribution list menu of your Control Panel
- Click the Remove icon next to the list you need
|